How to Configure a Windows Server as an Additional DC Leave a comment
After creating a brand new Windows Active Listing area, it is suggested so as to add extra Area Controllers. Learn this information to discover ways to do this.
Step 1: Set up AD DS and DNS Roles
To put in the Lively Listing Area Service and DNS roles on the server, run this command.
Set up-WindowsFeature -Title AD-Area-Providers, DNS -IncludeManagementTools -IncludeAllSubFeature
Step 2: Configure the Server’s DNS Deal with
Earlier than selling the server as an extra area controller, you should change its DNS server to level to the IP of the present DC. To try this:
- Click on the Native Server node in Server Supervisor. Then, click on the Server’s IP handle to load the Community Connections settings.

- Then, double-click the online adapter, and use the numbering in my screenshot beneath to replace the server’s TCP/IPv4 DNS handle.

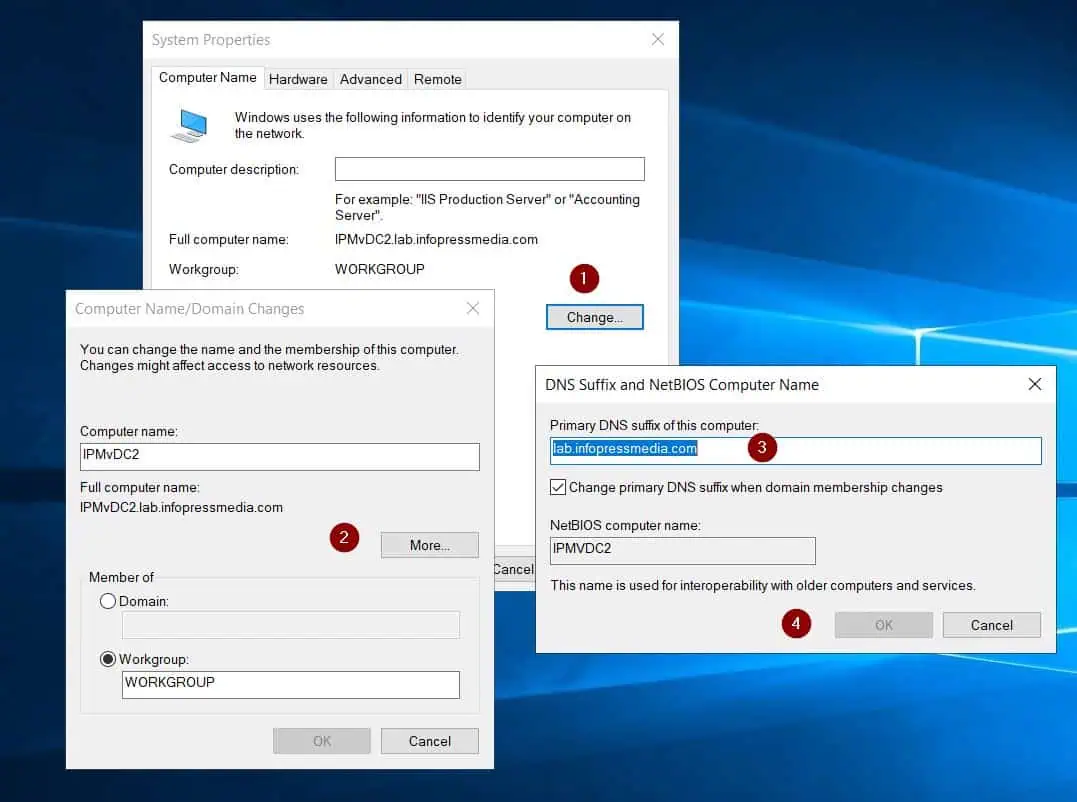
After altering the Server’s DNS handle, be part of the server to the area or modify its Main DNS suffix.
- Open Server Supervisor, then, click on the post-role set up activity icon and choose Promote this server to a website controller.
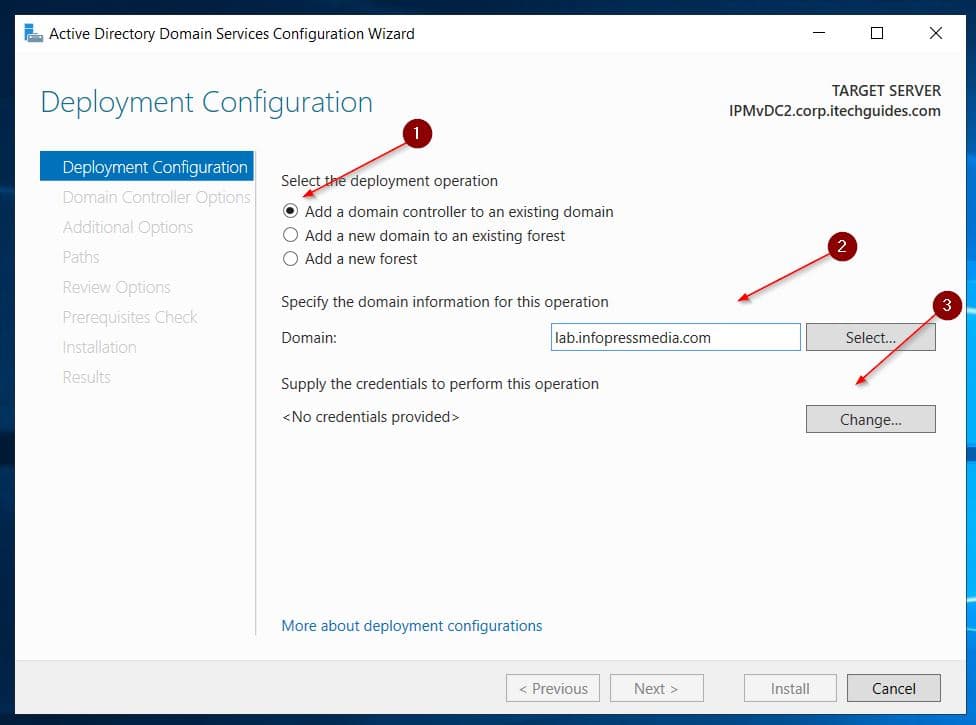
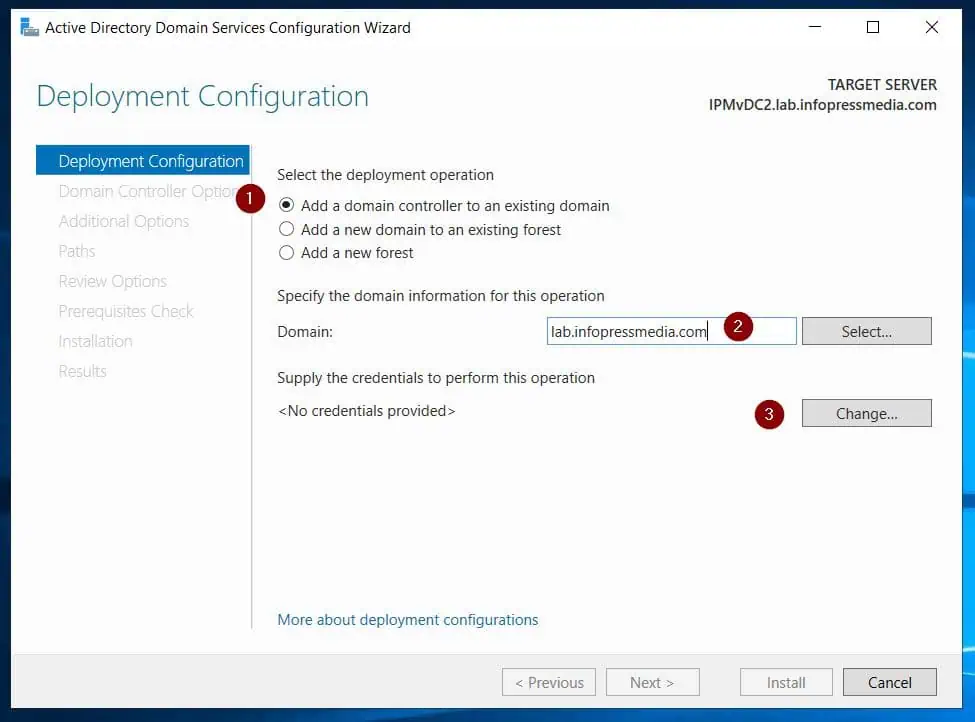
- On the primary web page of the wizard, choose the “Add a Area Controller to an current area” possibility, then, enter the FQDN of the area.
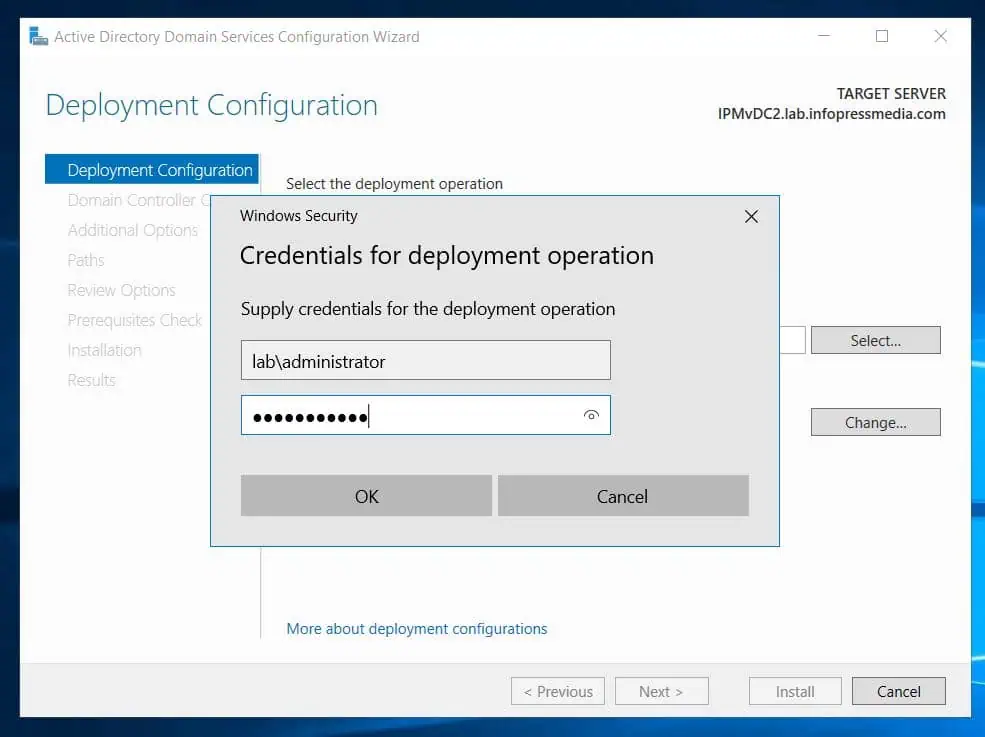
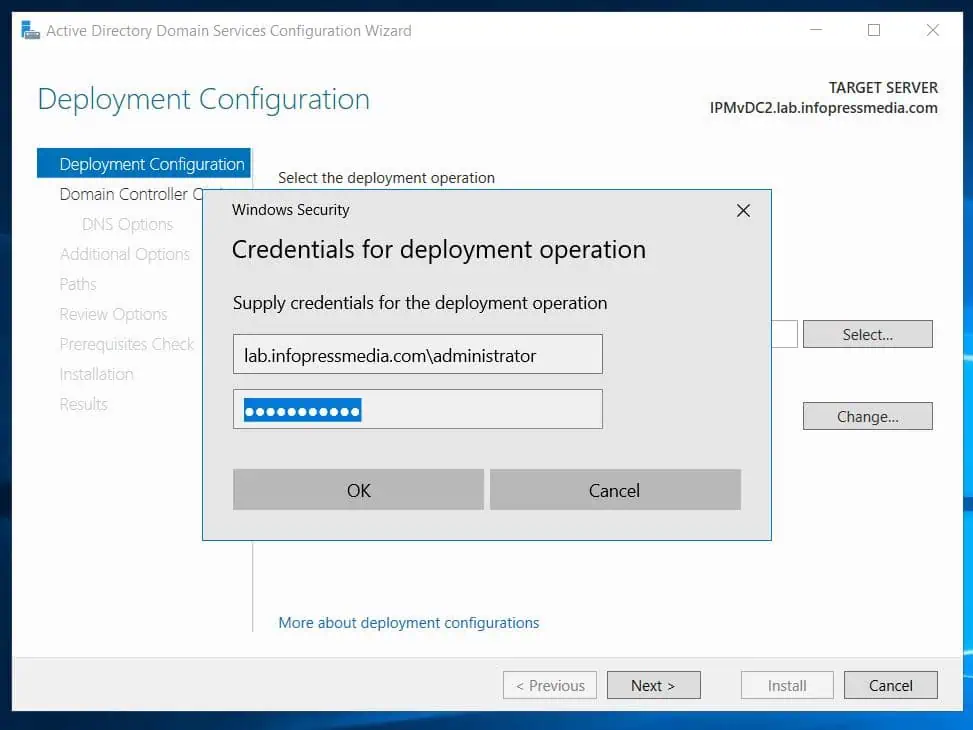
After that, click on the Change button subsequent to Provide the credentials to carry out this operation. Then, present the username and password for an account within the area with permission so as to add a brand new DC.
- Again to the Deployment Configuration web page, click on Subsequent.
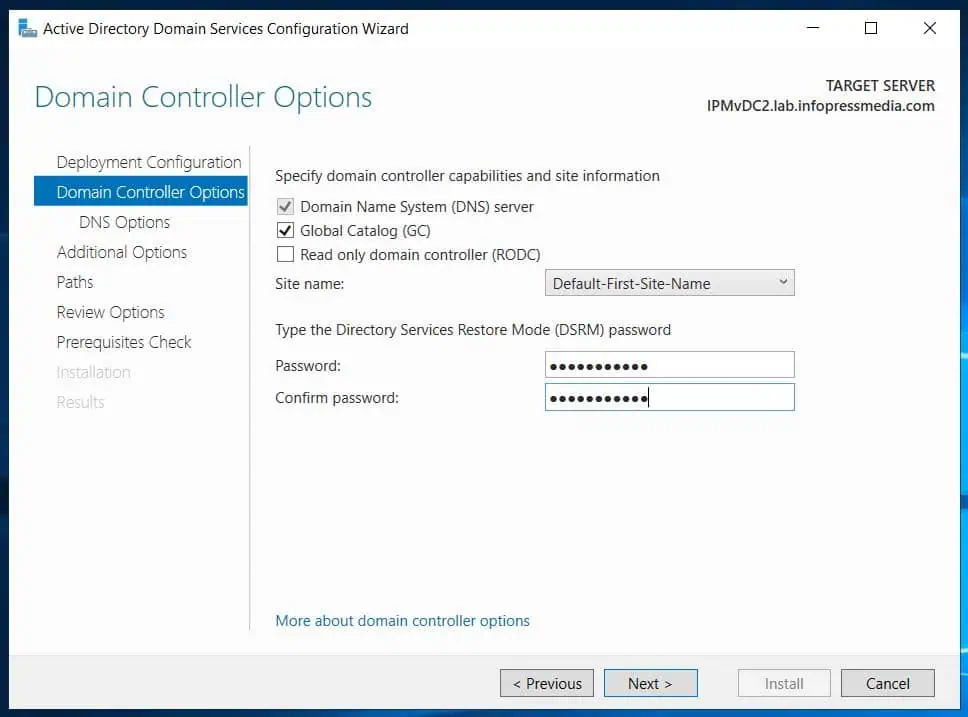
- On the following web page, choose the AD web site so as to add the brand new DC, enter the Listing Providers Restore Mode password for the DC, and click on Subsequent.
On the DNS Choices web page, ignore the warning and proceed.
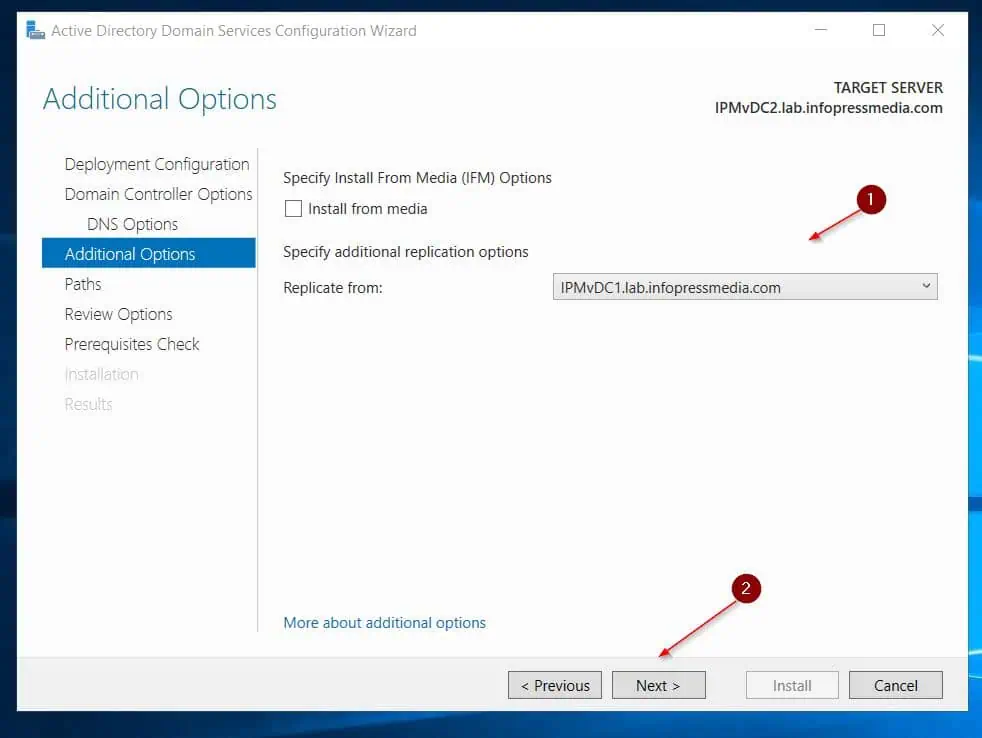
- Then, on the Replication web page, choose a DC from the drop-down and proceed to the following web page.
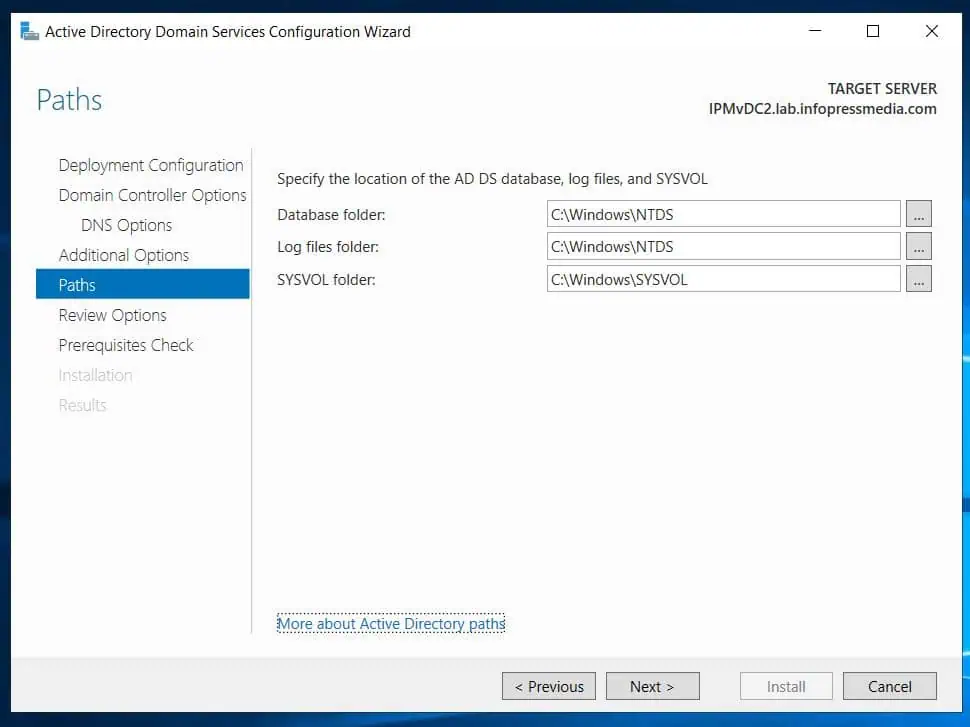
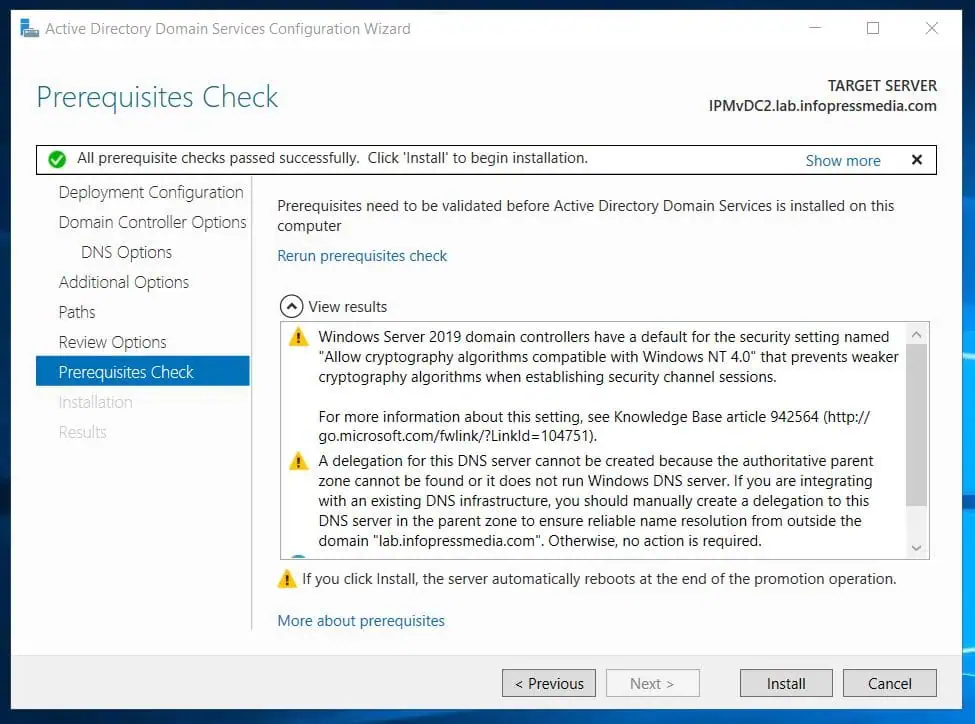
- Settle for the default location for the Database, Log information, and SYSVOL folders. After that, evaluate your settings, anticipate the wizard to run prerequisite exams, then click on Set up to advertise the server to a DC.
Conclusion
I’ve proven how you can promote a Server as an Extra Area Controller in a website on this information. I hope you discovered the information simple to learn and useful.
Let me know your ideas by responding to the “Was this web page useful?” suggestions request beneath.